
Here goes my experience with RaspberrryPi with KODI (XBMC) and OpenELEC.
Here’s what I start with :
- RaspberryPi 512 MB B+ – $34.79
- Transcend micro SD – Class 2 HC 8GB – ~$8 ( I used my old one from LG E900 )
- HDMI Cable – $11
- Power Adapter – Using my Nexus 4 E960’s
- An active INTERNET connection
Optional ( Also I used )
- Edimax EW-7811Un 150Mbps 11n Wi-Fi USB Adapter – $7.99
- Sabrent 4-Port USB 2.0 Hub (HB-UMLS) – $6.99
- Logitech K120 – $8
- Logitech Mouse M100 (Gift)
- Transcend 16 GB (My wife’s )
Streaming media – How it works ?
The idea is simple. Some one in internet broadcast these media for you , of-course free of cost.The person may be a community with like minded people and their goal is to share the media of type including Music, Music Videos,Movies (even 4K videos ), Games , Weather Apps and much more.
Compare with: Think about the torrent network , you might already experienced with to download Programs, content , Movies from Internet
Terminology :
- Repository – Ready-made bundle comes with lot of streaming network media content.
Compare with : Think about the *.torrent files which contain the IP/Location details. Hold-on. But it more than that. A single repository gives you ability to add multiple choice of addons related to Videos,Movies,Games and much more.
Repositories shows you what are addons available for you to pick. By default KODI comes with Official XBMC Repository , where you can find verified and recommended addons by KODI itself. There are tons of Unofficial repositories. You’ve to pick your best.
- Addons – Additional tiny programs running on-top of KODI to give you better experience. Adding more functionality to the core features of KODI.
Compare with : Think about the addons of Mozilla browser (Abrowser / Firefox)
Without much addons you’ll not able to enjoy the remote content. KODI becomes another local Media Player ( or Home Theater ) for your Living room.
Start now – Here goes the steps : ( only three steps)
- Install KODI – Download latest stable KODI version from kodi.tv
-
Install additional Repositories. Here goes my favorite:
- System > File Manager > Add Source
- xUnityTalk – http://xunitytalk.me/xfinity/
(was http://xfinity.xunitytalk.com)^ - SuperRepo – http://srp.nu
- TotalRepo – http://i.totalxbmc.tv
More avail from
http://kodi.wiki/view/Unofficial_add-on_repositories
- .
Important Note : Once repository added , you’ve to install the Zip from repository location in order to install the addons from the repository
- . System > Add-ons Get > Install From zip > [RepositoryName] > ZipPath
- xUnityTalk – http://xunitytalk.me/xfinity/
- System > File Manager > Add Source
-
Install Add-ons by System > Settings > Add-ons > Get Add-ons >> Desired One. Here goes few from mine.
- Weather Addons
- OpenWeather
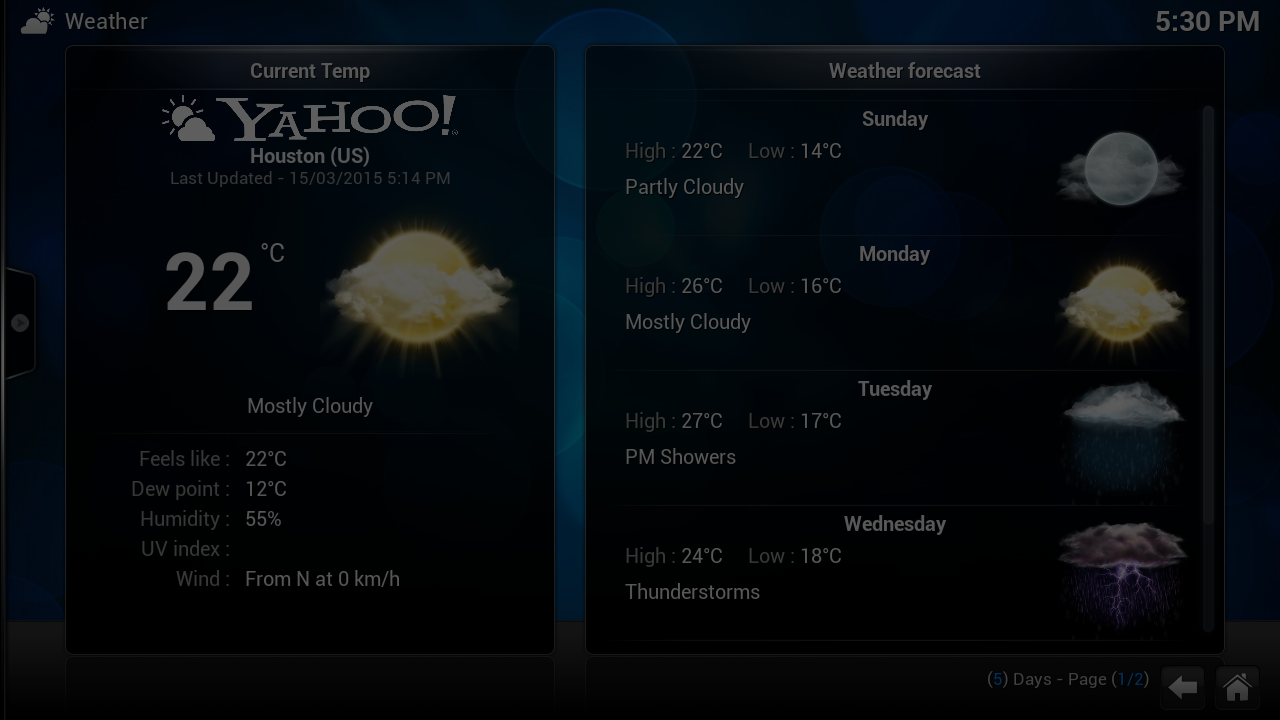
- Yahoo! Weather
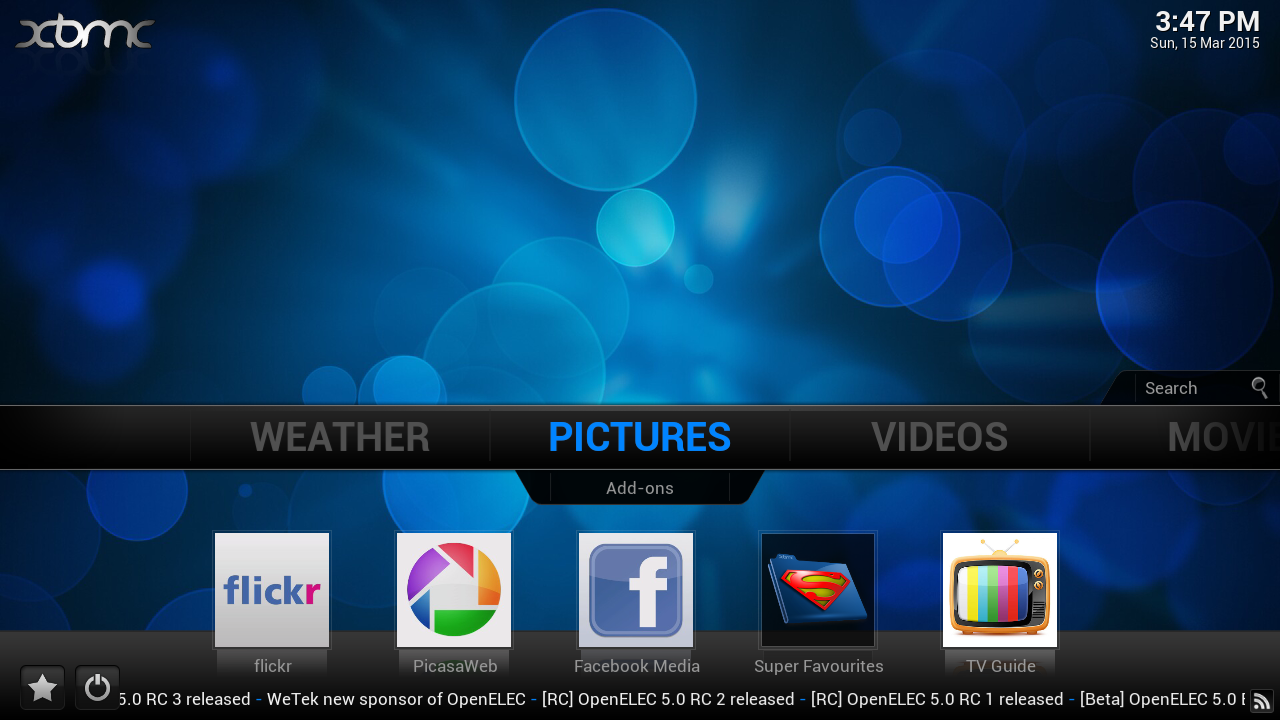
- Picture Addons
- Flickr
- PicasaWeb
- Facebook Media
- Video Addons
- YouTube – From Official Repository
- DailyMotion – From Official Repository
- Cartoon HD – From xUnityTalk Repository
- Cartoon HD2 – From xUnityTalk Repository
- Tamil KODI – Regional content (Add-on Zip here ) (Optional)
- Weather Addons
-
[Optional] Add video sources from local drive [/Optional – You can skip this]
- Refer the KODI Wiki http://kodi.wiki/view/Adding_video_sources. Here’s the step for quick reference
-
Home screen >> Videos >> Files >> Add Source
-
The “Add Video Source” screen will be displayed. Then select the “Browse” button.
-
Now browse to where you keep your videos stored. Once you have found the folder you keep your videos in, select the “OK” button.
-
Name this Video Source however you like.
-
The set content window will display, this is where you tell what type of media is in the folder. Press the down arrow until you reach the correct type (in this example movies)
-
There are a number of options underneath, see Setting content and scanning to check what options to enable. Then select “OK”
-
Press Yes the scan the content to the library (if no is pressed, it can be scanned later).
-
- Make sure you set the content to Movies for any Movies you wish to add to Library.
- Refer the KODI Wiki http://kodi.wiki/view/Adding_video_sources. Here’s the step for quick reference
Now you’ll able to see the MOVIE tab in Home screen.
Job Done
That’s all ! Relax on the couch and start enjoy your new Media Center.
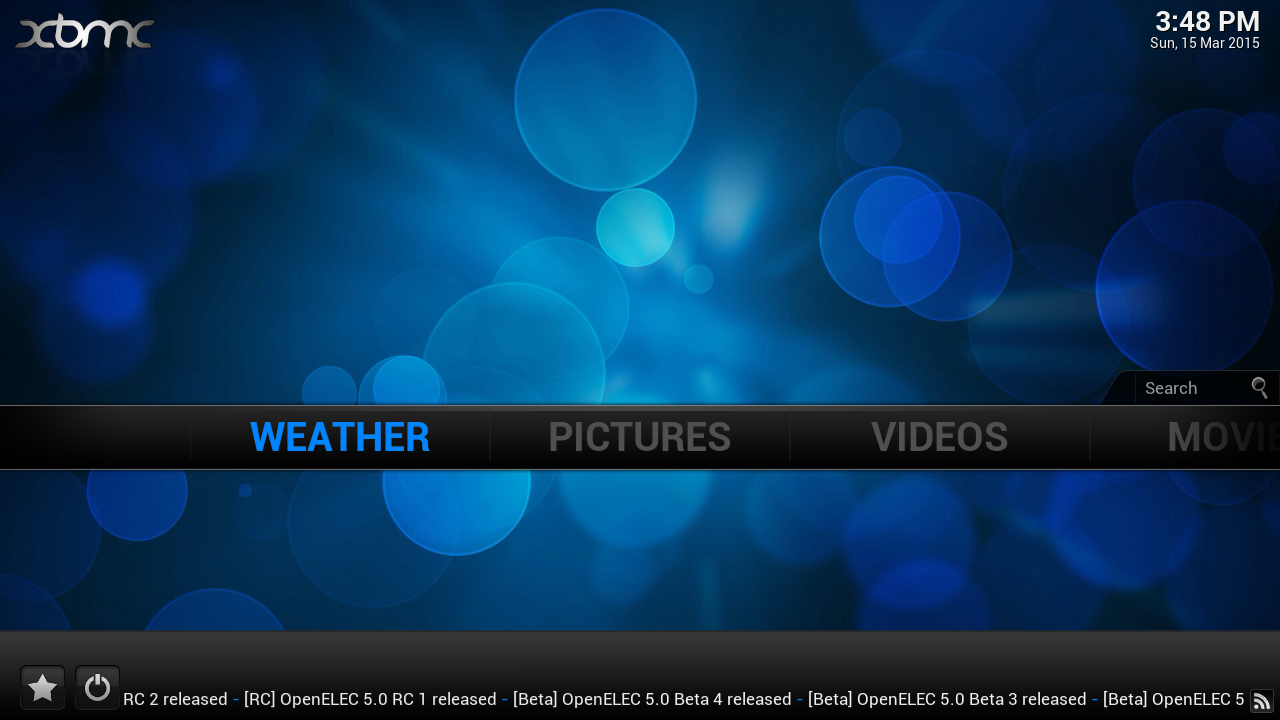
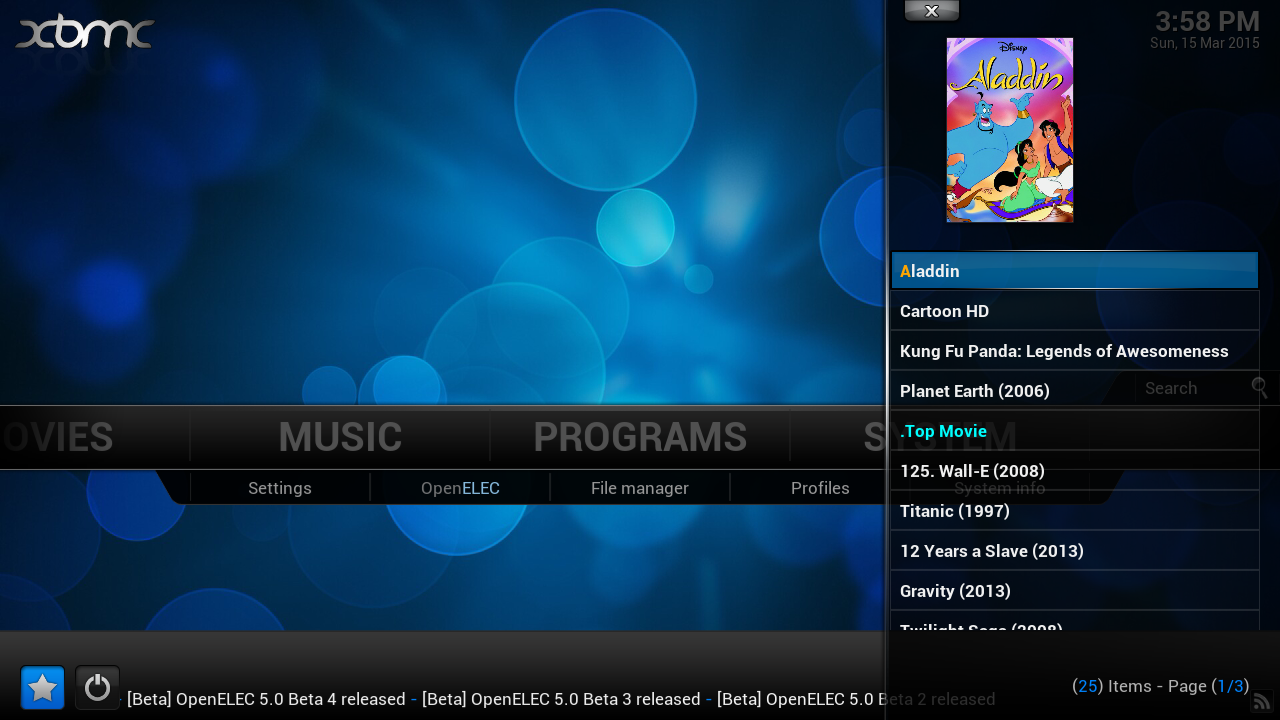
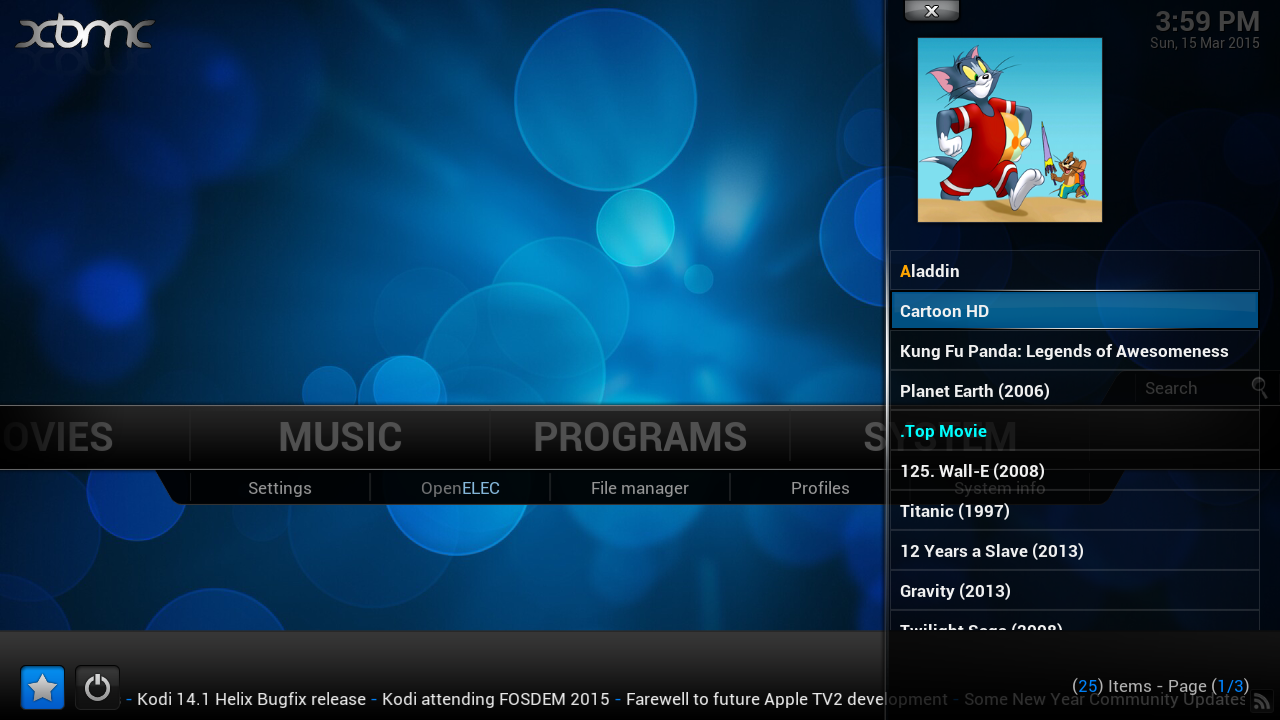
Here goes few of snaps from my XBMC setup :
-
- Weather
-
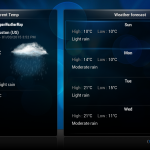
- OpenWeather – Houston

-
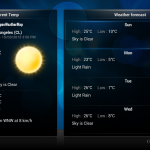
- OpenWeather – LA

-
- Yahoo! Weather
-
- Pictures with quick Addons
-
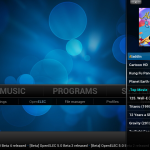
- Favorites on Side bar – Aladdin
-
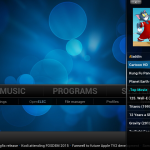
- Favorites – CartoonHD
-
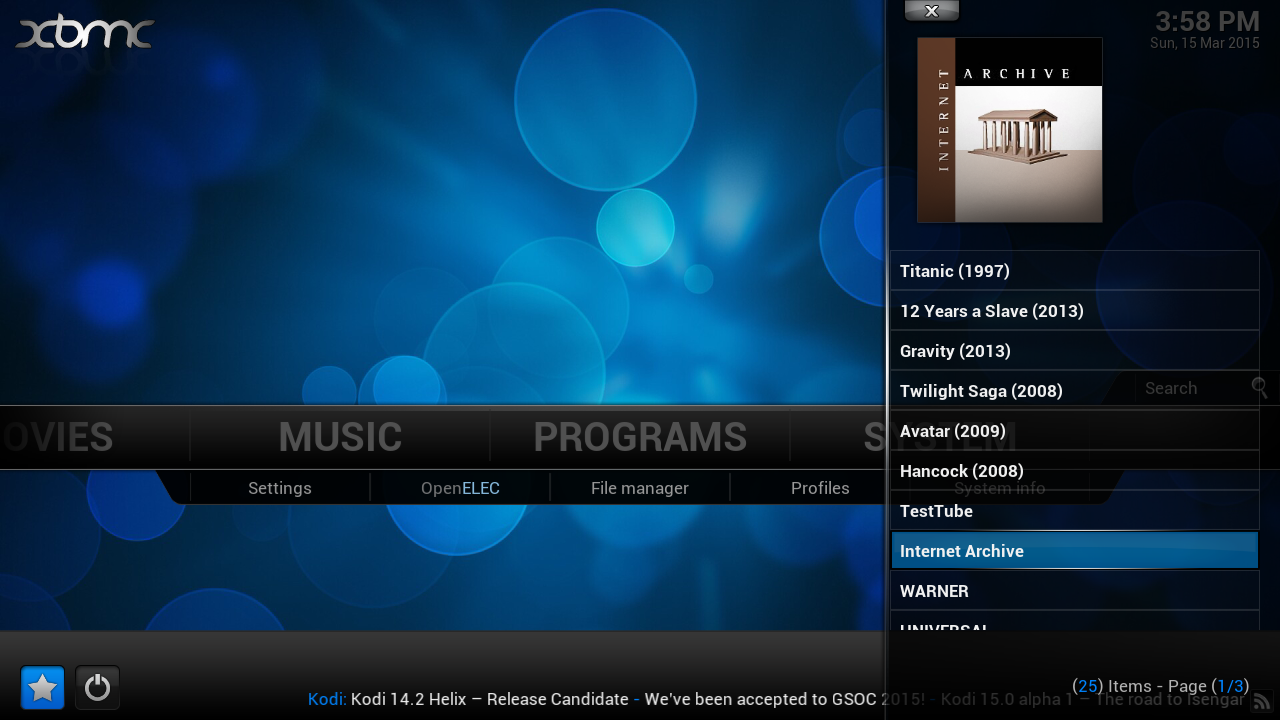
- Favorites – Internet Archive
-
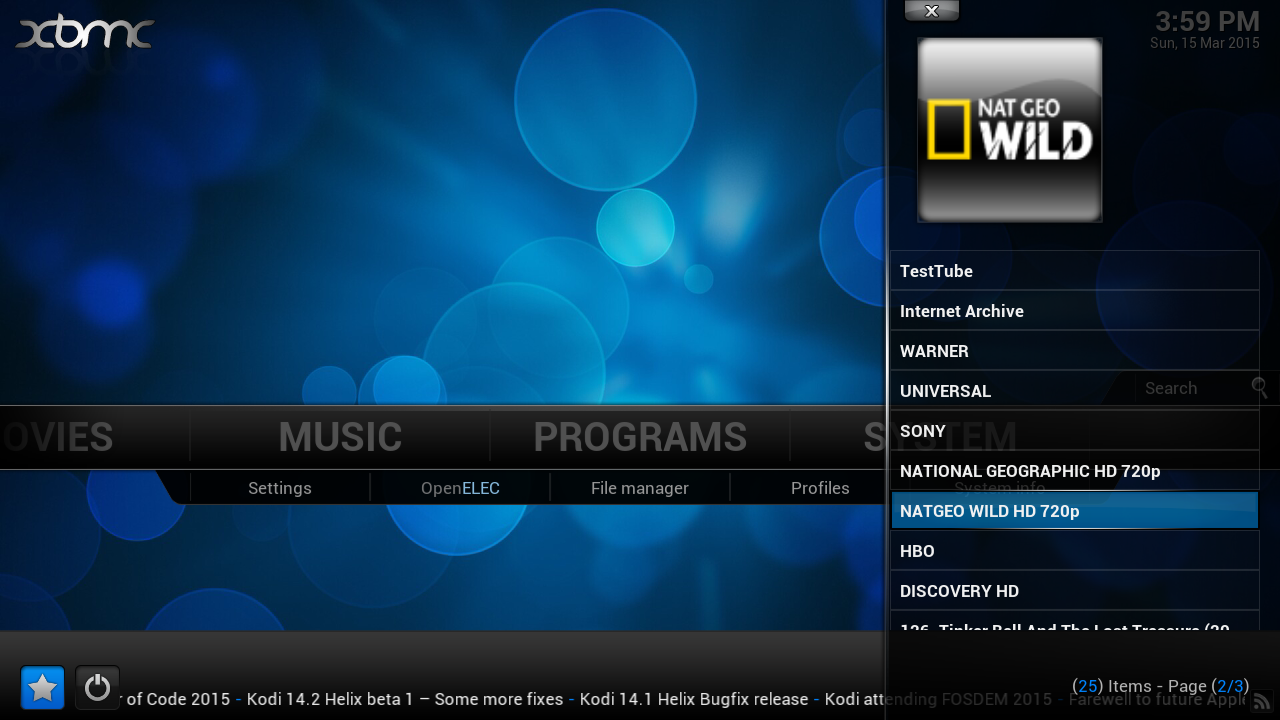
- Favorites – NatGeo
-
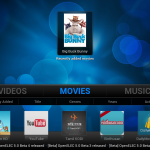
- Movies – BigBuckBunny

-
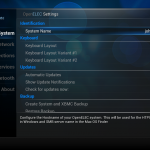
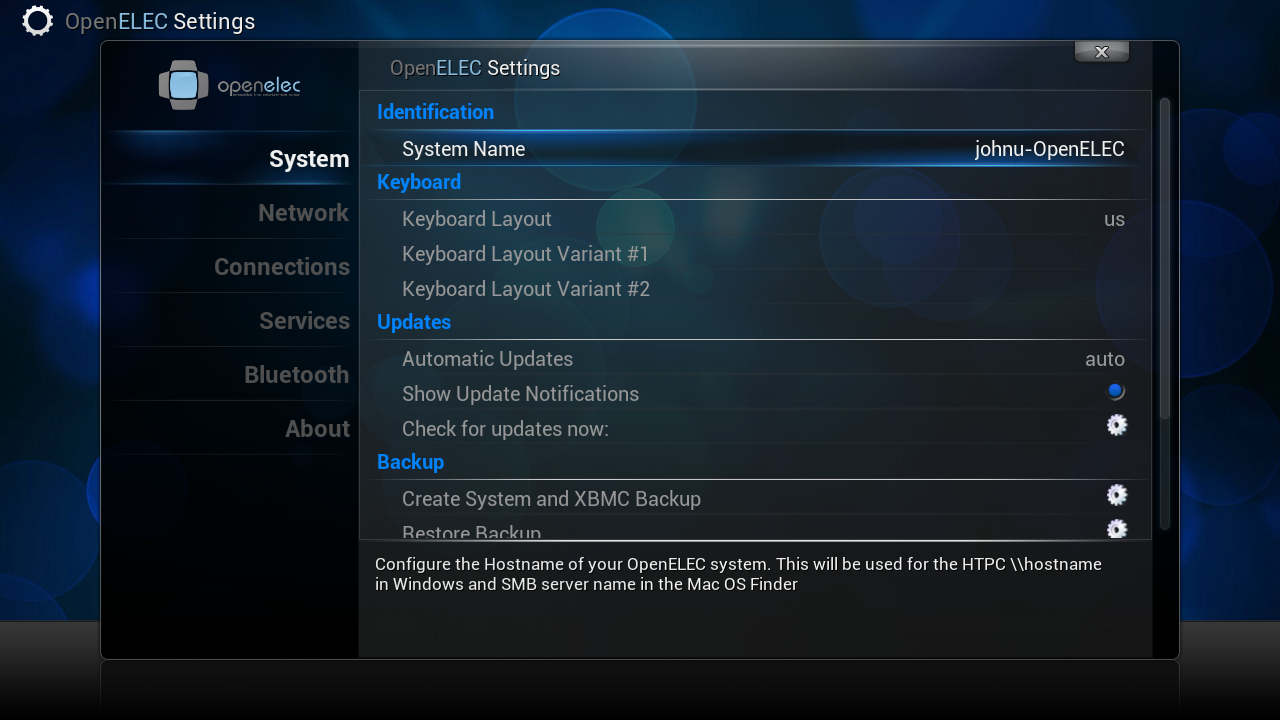
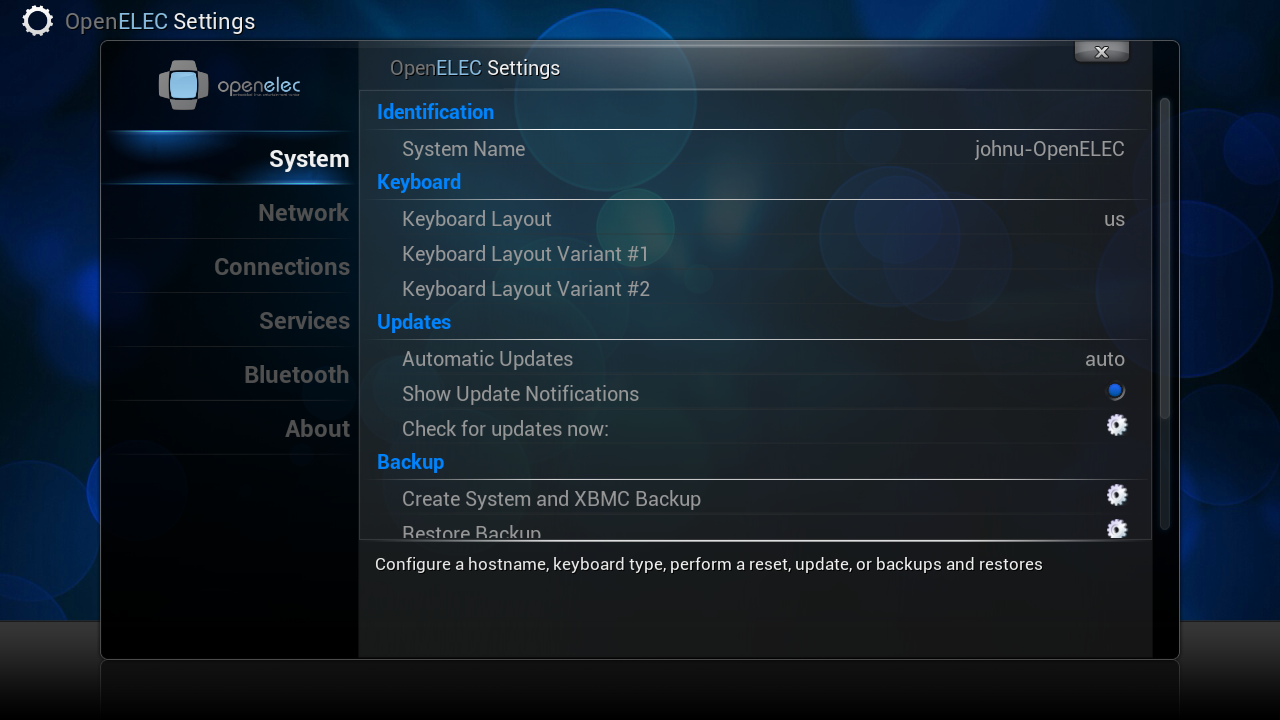
- Name your KODI
-
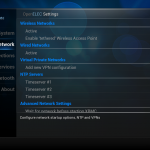
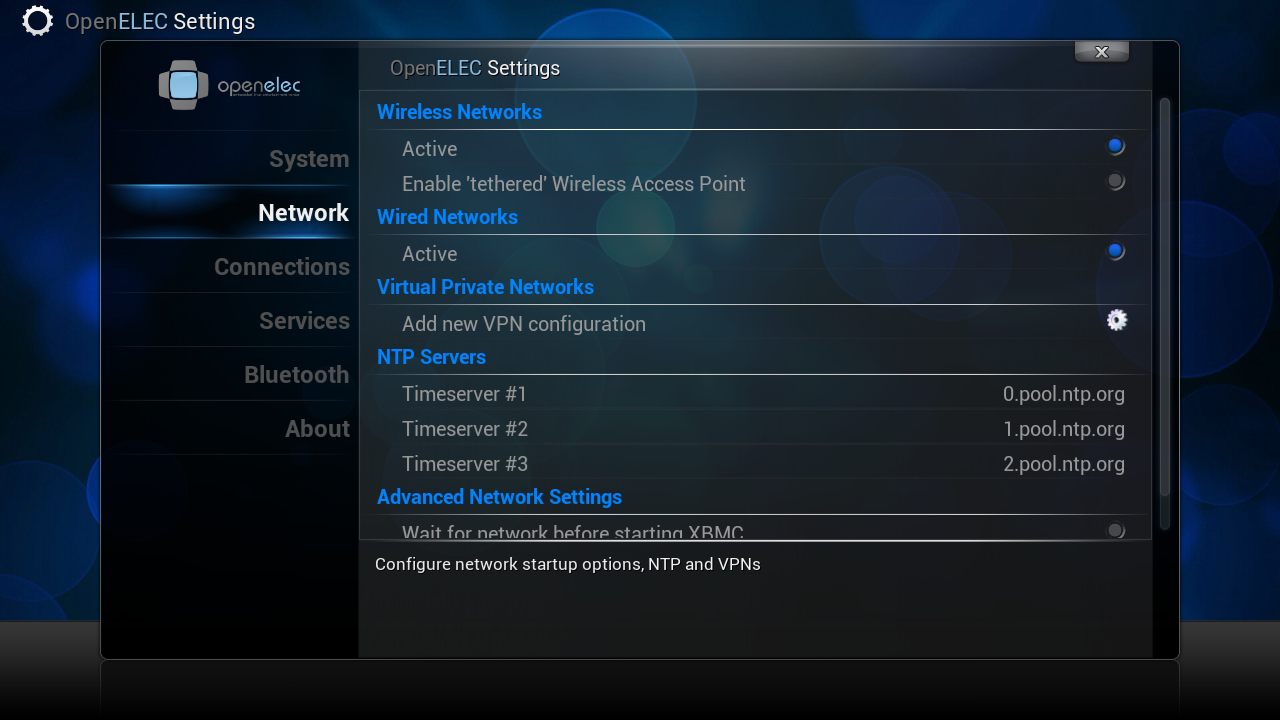
- Check your network status
-
- Wifi Settings

-
- Name your KODI
-
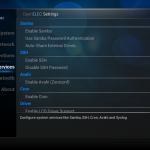
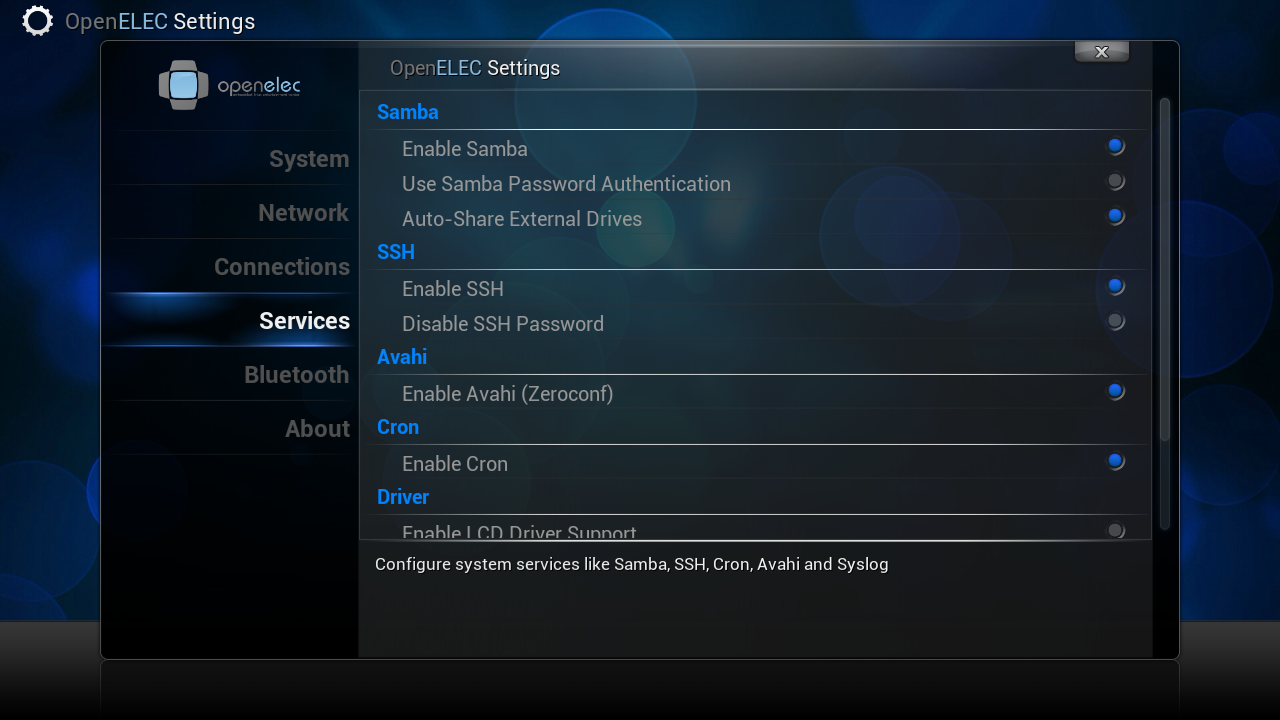
- Additional services 🙂
-
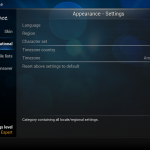
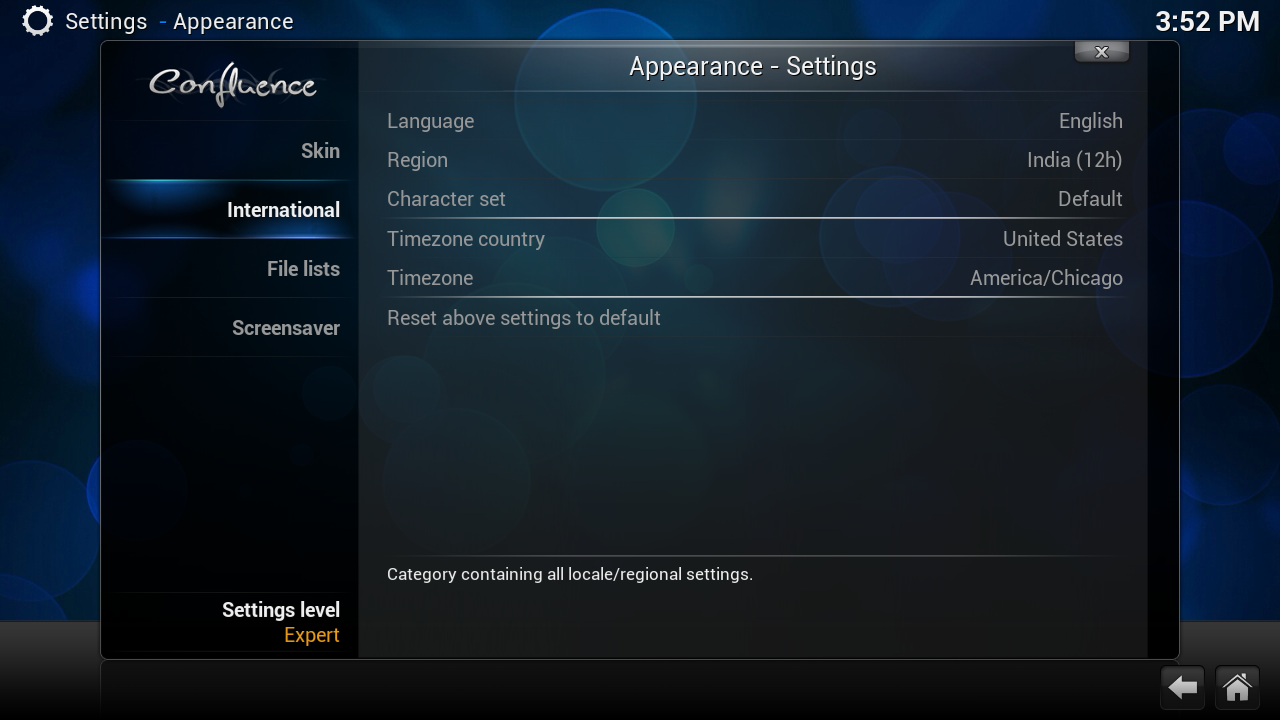
- Choose how Weather and Time appear for you
-
- PVR – Personal Video Recording

-
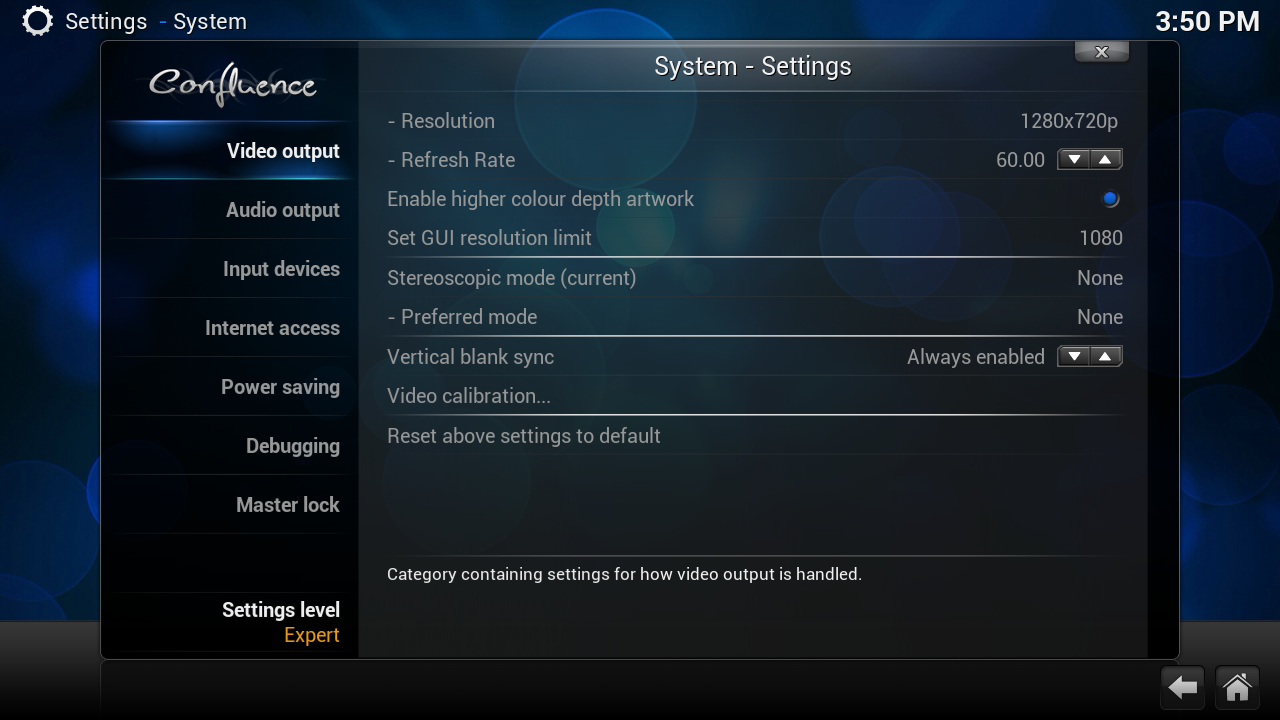
- Video Settings
-

- ZeroConfig too
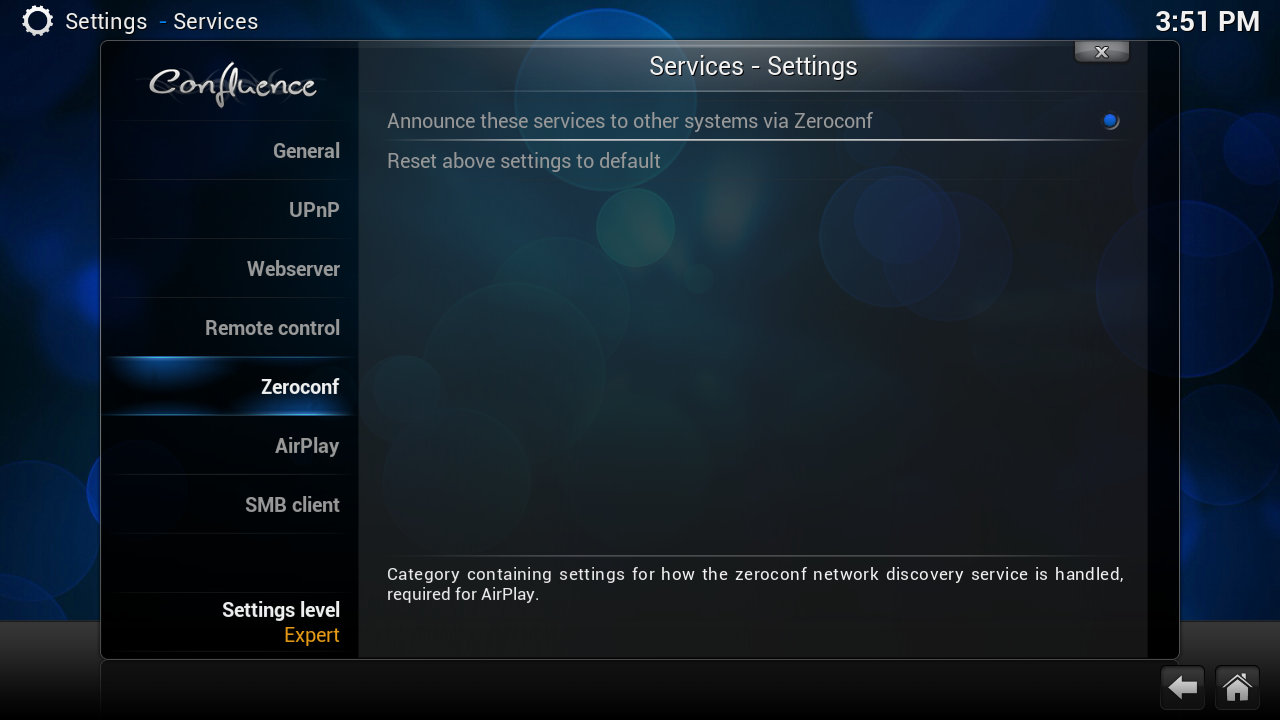
-
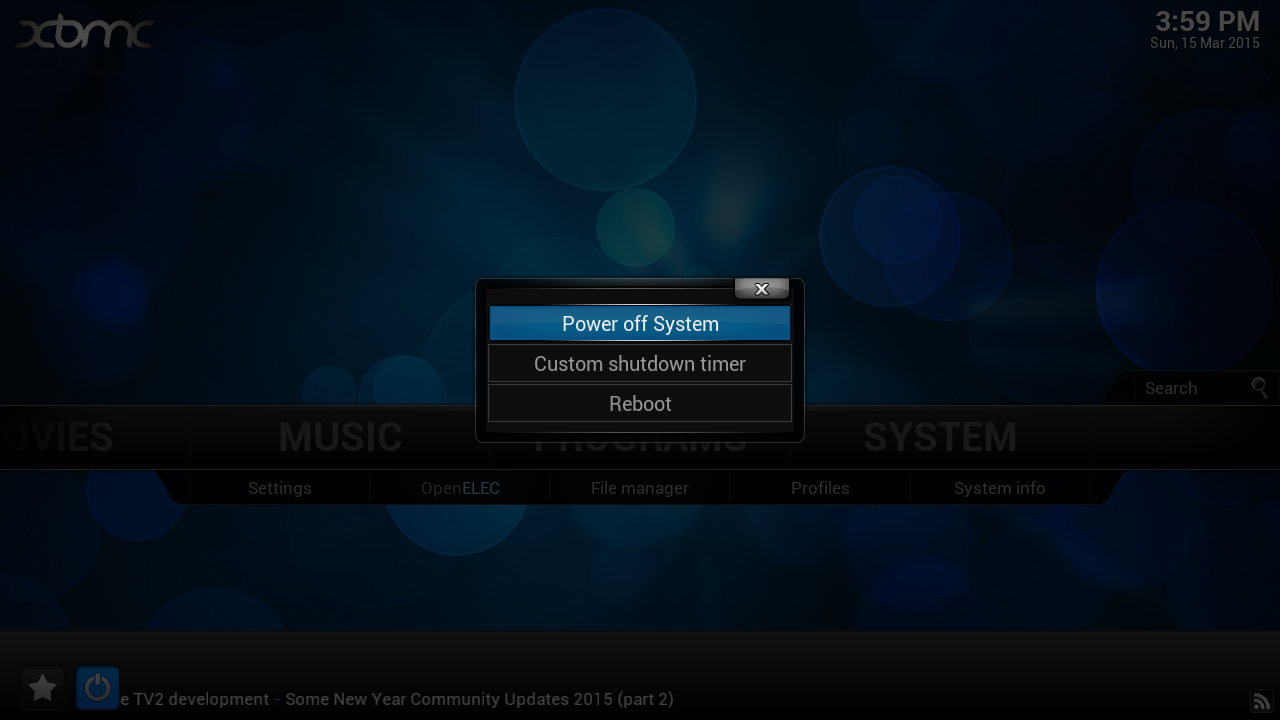
- Good Bye!
Good Luck !
[Update – 2015-03-23 ] Updated with list of repository installation.
^[Update – 2016-01-26 ] Updated xUnityTalk XFinity Repo link