ரெம்ப நாளா காளமேகப்புலவர் பத்தி எழுதனும்னு நினைச்சேன். Finally done.
ஒரு எழுத்துல பாடுறதுல அவரு expert. கூடவே இருபொருள் கவியும் அத்துபடி. இந்த blog based on his true வாழ்க்கை events. Enjoy!
அது 14ஆம் நூற்றாண்டு. கிட்டத்தட்ட 555 வருடங்கள் முன்.
VIP வரதன்:
ஊருக்குள்ள ஒரு ஆள். பேரு வரதன்! படிப்பெல்லாம் ஒன்னும் பெருசா இல்லை. உள்ளூர் பெருமாள் கோவில்ல சமையல் வேல. அதுவும் அப்பா உபயம்.
பெருமாளுக்கு ஆக்கி போட்டுட்டு கோவிலுக்கு வர்ற எல்லாருக்கும் பொங்கலையும் புளியோதரையும் distribute பண்ணீட்டு evening friends கூடஅப்படியே கொங்சம் relax!
பகல் சமையல் முடிஞ்சா மாலை ஆத்துக்கரை, தெப்பாக்குளம்ன்னு ஒரு rounds. இப்படி காலை சமையல், மாலை மையல்ன்னு இருந்த சமயம், ஒரு அறிவிப்பு: பக்கத்து ஊர் சிவன் கோவில் Night கச்சேரி.
 Evening அரட்டையில யாரு இந்த மோகனான்னு கேட்டப்ப, friend ஒருத்தன், ”
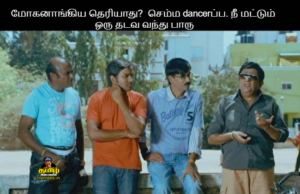
மோகனாங்கிய தெரியாது? செம்ம dancerப்ப. நீ மட்டும் ஒரு தடவ வந்து பாரு. அப்புறம் உன் lifeயே மாறிடும்”.
அவ்வளவு தான். Appointment Booked. பெருமாளுக்கு மினி Tiffinஅ போட்டுட்டு danceக்கு entry.
Disco மோகனா:
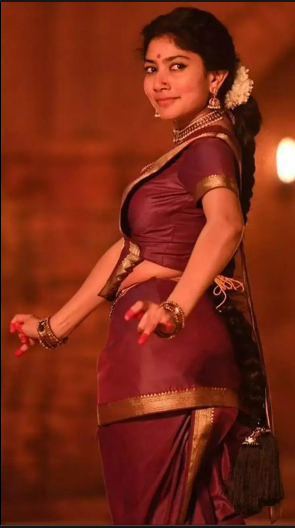 கச்சேரில்ல ஒரு பொண்ணு. விசாரிச்ச அவ பேரு மோகனாங்கி! கச்சேரி பார்த்ததும் வரதனுக்கு Loves❤️. கட்னா இந்த Lifeல இவதான் என் wifeனு. Next proposal planதான்.
“இந்தா பாரு மோகனா, வருசம்பூரா உன்ன வச்சு நான் சோறு போடுவேன். ஏன்னா ஊருக்கே நான் தான் சோறு போடுரேன். அவ்வளவு ஏன், அந்த பெருமாளுக்கே நாந்தான் படியளுக்றேன்னு ஒரு bit வேற. என்னை நம்பி நீ வா, Please!”
மோகனாவும் lightஅ slip ஆயிறுச்சு. பெருமாளுக்கே படியளக்குறான்னா பெரியாளுதான் போல.
“பேச்செல்லாம் நல்லாதான் பேசுர, நீ யாரு? எந்த ஊரு? என்ன வேலைன்னு ?” inquiry.
அப்பதான் நம்மாளு சொல்றாரு. பெருமாள் கோயில்ல சமையல் வேலைன்னு.
“அடப்பாவி! பெருசா பேசுன. Fraud’u பயலே. Your proposal rejected”னு போய்டுச்சு.
நம்மாளும் மனசு தளராம repeated follow-ups. ஒரு கட்டத்தில் மோகனாங்கி Okay சொல்லிருச்சு. But ஒரு condition. நான் சிவமதம். நீ பெருமாள் side. இது ஒத்துவராது. “நீ வைணவத்துல இருந்து சைவம் மாறுனா நான் உனக்குத்தான்”னு சொல்லிருச்சு.
இது என்னடா பெருமாளுக்கு வந்த சோதனை? நான் சமைக்காட்டி பெருமாளே பட்டினி ஆயிடுவாரே. சரி பெருமாள நாம கட்டிட்டு இருந்த இந்தபுள்ள நம்மள கட்டாது. நாம பட்டினிதான்.
விடிய விடிய யோசிச்சு ஒரு புத்திசாலித்தனமான முடிவுக்கு வந்தான். Love is more important than God. காலைல மோகனாட்டா போறார்.
“From today , I’m சிவமதம். இன்று முதல் நாமம் இல்ல. நான் பட்டைய போட்டுக்குறேன். என்னோட குலசாமி இனி திருமால் இல்ல. அன்பே சிவம். மத்ததெல்லாம் வெறுஞ்சவம். நீ வா மோகனா போகலாம்! Please accept me”ன்னு.
மோகனாவும் “சரி, evening அம்மன் கோவிலுக்கு வா, மத்தத அங்க discuss பண்ணுவோம்“னு.
Surprise சரசுவதி:
ரெம்ப ஆசையா மனுசன் கோவிலுக்குள்ள வந்துட்டான். ஆன மோகனாவ காணோம். தேடித்தேடி ஓஞ்ச்சிட்டான். அந்தபக்கம் மோகனாவும் இந்தாள தேடிட்ருக்கு. வரதன் Leftனா மோகனாவோ Right. ஏன்னா பொண்ணுங்க எப்பவும் Right. சுத்துத்சுத்துன்னு சுத்திட்டே இருக்காங்கே ரெண்டுபேரும். ஒரு கட்டத்துல மோகனாவ தேடி ஆள் வர வேற வழி இல்லாம கிளம்பிருச்சு. Tiredஆயி வரதன் அப்பிடியே உட்காந்துட்டான். Night கோவில மூடிட்டாங்கெ. நம்மாளு வரதன் full flat. கனவுல ஒரு Husky voice. ரெம்ப soft & sweet.
“வரதா, ஓரு surprise… அப்டியே வாயத் திற, Please!”
வரதனுக்கு கொண்டாட்டம். இவ்வளவு நேரம் காத்திருந்தது வீண் போகல. அதிரசமோ, பணியாரமோ கொண்டுவந்துருக்கா நம்மாளு மோகனா. இவரு வாய திறக்க ஒரு குட்டி உருண்டை. அட அதிரசமோ, பணியாரமோ இல்லை. இது வேற. இடிச்ச வெத்தலை. ஆனா sweetஆ இருக்கு.
“இது கும்பகோணம் வெத்தலை மாதிரி இல்லையே, இனிப்பா இருக்கு; சுண்ணாம்புக்கு பதிலா பனங்கட்டிய போட்டு இடுச்சுட்ட போல. இவ்வளவு இனிக்குது”
 “No, no.. இது என்கூரு வெத்தலை.அப்புறம் உரல்லாம் இடிக்கால. நாந்தான் மென்னுகொடுத்தேன். அதான் இனிக்குது”
Heroக்கு shock! தலைகால் புரியல.
இது கனவா, இல்லை நனவா? இன்னக்கி Lucky day போல. முதல்வன் படத்துல வர்ர Heroine வெத்தலைய ஊட்டிவிடுற scene வேற ஞாபகத்துக்கு வந்துட்டு போகுது.
மறுபடியும் Husky voice. “வரதா, second surprise…நாக்க நீட்டு” ன்னு.
 கண்ணா ரெண்டு லட்டு திண்ண ஆசையா?னு உள்ள ஒரு குரல். கண்ண திறக்காமலே lightடா நாக்க நீட்டுட்னா சரட்டுன்னு ஒரு கீறல்.
Kissing is missing! கீறல் is hurting. Now கண்ண திறந்த மோகனாங்கிய காணேம்.தூரத்துல ஒரு lady உருவம். இருந்த ஒரு தீபந்தத்தையும் Off பண்ணீட்டுபோய்ட்டானுவ . இருட்டுல ஒன்னும் சரியா தெரியல. Voice மட்டும் clearஅ கேட்குது.
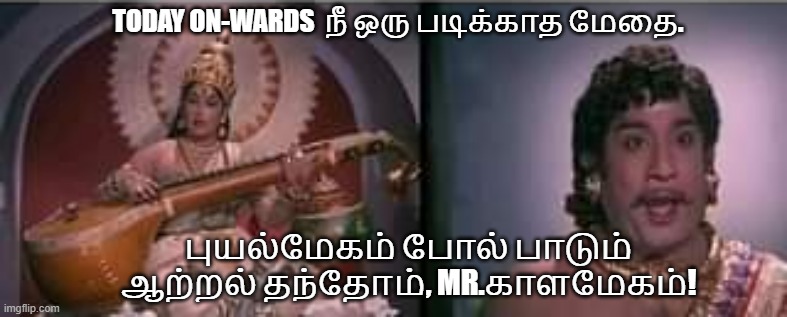
“அட மடப்பயலே, நான் சரசுவதிடா. நீ சுத்துன சுத்துல நான் வரங்கொடுக்க வந்தேன். காதலிய சுத்தவேன்னு பார்த்த என் கர்ப்பகிரகத்த சுத்துற? எவ்வளவு சுத்து? உன் மேகனா விழுந்தாலோ இல்லையோ, நான் பிரம்மலோகத்துல இருந்து விழுந்தாச்சு. அப்புறம் வெத்தலையோட உன் நாக்குல ‘ஓம்‘னு கீறியாச்சு. Today on-wards நீ ஒரு படிக்காத மேதை. புயல்மேகம் போல் பாடும் ஆற்றல் தந்தோம், Mr.காளமேகம்!
 More importantly, you’re a ஆசுகவி. நீ ஒன்னு பாடுவ, ஆனா அது வேற பொருள் தரும் . ஒரே பாட்டுல ரெண்டு மூனு அர்த்தம் வரும்.அதுதான் இனி உன் special. நீதான் பெருமாளுக்கே படியளந்த ஆளாச்சே..You’re an expert“ன்னு சொல்லி மறைஞ்சுடுச்சு.
சட்டுனு விழிப்பு வந்துருச்சு. ஓ, எல்லாம் கனவு. பாவிமவ, மேகனாங்கி வரவே இல்லயா? ஆனாலும் காதுல audio clearரா கேட்டுச்சே. உண்மையிலே ஆத்தா வந்து அருள் குடுத்துச்சா? நாக்க ஒருதடவ தடவி பார்கிறாரு. அப்ப வந்தது மோகனாவா இல்ல சரசுவதியா இல்ல நம்ம பசங்க prankகானு ஒரு confusion.
Public பஞ்சயத்து:
அதுக்குள்ள விடிஞ்சு கோவில திறந்தாச்சு. உள்ள இருந்த நம்மாள பார்த்து “அடேய், யார்ட நீ திருட்டுப்பய? என்னத்த திருடன“னு கேட்க, “நான் திருடன் இல்ல, யோக்கியன். புலவர்டா” இவர் சொல்ராரு.
என்னடான்னு கேட்டா, “ஆமா, நான் தூங்குனப்ப சரசுவதி என் நாக்குல கீறிடுச்சு,நான் புலவன் ஆயிட்டேன்”
அப்ப ஒருத்தன், “பயபுள்ள எங்கேயோ சரசுவதி சபதம் பார்த்துட்டு இங்க வந்து புது கதை உருட்டுது போல” சொன்னான்.
உண்மைய சொல்லுனு கேட்டப்ப “நான் மோகனாவ பாக்க வந்தேன், ஆனா சரசுவதி என்ன பார்த்துட்டு போயிடுச்சு, நெசமாலுமே நான் ஒரு யோக்கியன்”னு.
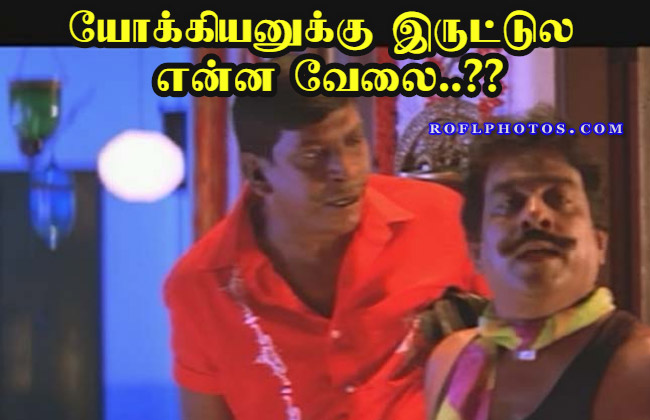 திடீர்னு கூட்டத்துல ஒருத்தன் “யோக்கியனுக்கு இருட்டல என்னடா வேல? எல்லாம் பொய் பொய்… ஒரு இரும்புகம்பிய பழுக்க காச்சி நாக்குல இழுத்த உண்மை வரும்” சொன்னான்.
“ஆ ஊன்னா ஏன்டா நாக்க target பண்டீங்க? Nightத்தான் சரசுவதி வந்து கீறிறுக்கு. நீங்க பாட்டுக்கு சூடு போட்ட அழுஞ்சுரும். அப்புறம் நான் எப்படி பாடுறது?புலவன் வாக்குக்கு நாக்கு முக்கியம்“டான்னு பதில் சொல்றாரு.
“இது சரிப்படாது. கூட்டற பஞ்சாயத்த“- Another voice. ஆலமரத்துக்கீழ வெத்தல செம்ப வச்சாச்சு. எந்த ஊர்னு கேட்டப்ப, ஆத்துக்கு அந்தப்புறம் சீரங்கம் தெரிஞ்சுது. “அந்த ஊராட நீ? அவிங்களுக்கு எங்களுக்கும் எற்கனவே வரப்பு பஞ்சயத்து. இது வேற ladies matter. Areaவும் நம்ம limitல வராது. வாங்க எல்லாரும் High-courtக்கு போகலாம் . வண்டிய விடுறா அரண்மனை பக்கம்!” முடிவெடுத்தாச்சு.
Typo திருமலை
நாகப்பட்டினம் பக்கத்துள்ள( திருமலைராயன் பட்டினம்) த்தை திருமலைராயன் அரண்மனை. Caseஅ full review செய்துட்டு,
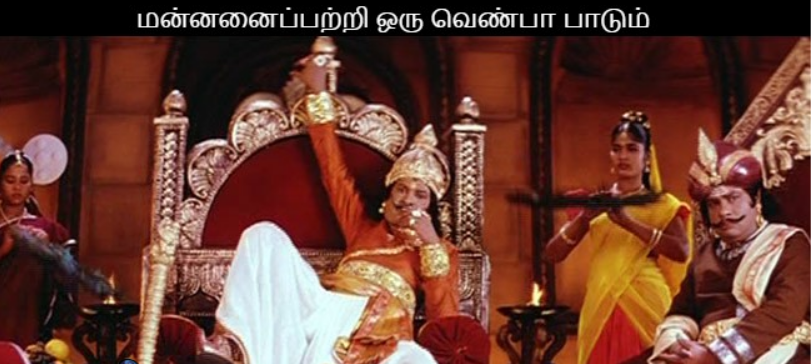 “மன்னனைப்பற்றி ஒரு வெண்பா பாடும். வென்றால் உன்னை புலவன் என்று தீர்ப்பளித்து பரிசளிக்கப்படும். இல்லையென்றால் தண்டனை உனக்கு“ங்கிறார் மன்னர் திருமலைராயன் .
உடனே நம்மவர்,
 "காக்கைக்கா காகூகை கூகைக்கா காகாக்கை
கோக்குக்கூ காக்கைக்குக் கொக்கொக்க – கைக்கைக்குக்
காக்கைக்குக் கைக்கைக்கா கா"
என்னடா இது, பாடச்சொன்னா க, கா, கி, கீ … திருப்பிதிருப்பி சொல்லி எதோ உளறுகிறான். நமக்கு தமிழ் தெரியாத இவன் miss use செய்றான் போல. By the way, மன்னருக்கு தமிழ் கொஞ்சம், கொஞ்சம் தான் புரியும். Vijayanagar imported. Officially சுந்தரத்தெலுங்கு ஆள். என்ன செய்றது?
திருமலைராயன் மன்னர் உடனே, “இது பாட்டு மாதிரி இல்லயே, ஏதோ பேசத்தெரியாதவன் போதையில உளறுகிற மாதிரி இருக்கே“ன்னு சொன்னார்.
“சொல்லில் பிழையா அல்லது பொருளில் பிழையா?”ன்னு இவரு கேட்க ,
மன்னரோ , “எல்லாமே பிழைதான். எங்கே இதன் பொருளை விளக்கவும் ? ” என ஏவ, இவரு
"மன்னா, இரவில் காக்கை கூகையை (ஆந்தை) வெல்லாது.
பகலில் கூகை காக்கையை வெல்லாது. So மன்னா,
நாட்டைப் பகைவரிடமிருந்து காப்பாற்றுவதற்கு
கொக்கைப் போலத் தகுதியான சமயம் வரும் வரை காத்திரு.
பகையை எதிர்த்து காப்பதற்கு, timing is more important."
கூகை,காக்கை - பறவைகள்; ஐ,கோ - மன்னன்; கூ - புவி
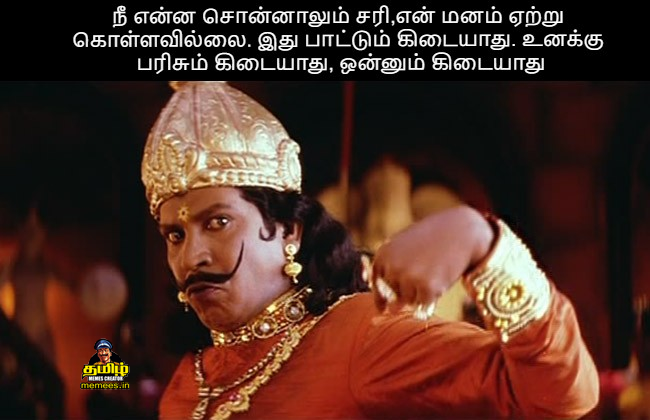
மன்னனோ, “நீ என்ன சொன்னாலும் சரி,என் மனம் ஏற்று கொள்ளவில்லை. இது பாட்டும் கிடையாது. உனக்கு பரிசும் கிடையாது, ஒன்னும் கிடையாது“.
 அதற்கு புலவர், “மன்னா, உனக்கே தமிழ் Weekக்கு. நாலுவரி எழுத சொன்னா அதுல நாப்பது Typo விடுற ஆளு. So you can’t judge my verses”
மன்னரு உடனே, “I’m proud தெலுங்கு, But my தண்டிகை team will judge your knowledge” அப்டீனு முடிச்சுட்டார்.
Finally இந்த ஆள் புலமை Test செய்ய கூடிய ஒரே Team, தண்டிகை அவை தான்!
Decay தண்டிகை
நம்ம திருமலைக்கு தமிழ் புலமை இல்லைனாலும், அதிக ஆர்வம். அதனாலே 64 புலவர்களுக்கு தன் அவையில இடங்கொடுத்து இருந்தார். Team name:தண்டிகை! இதுக்கு Head of Dept.: அதிமதுரகவி. இந்த Team முக்கிய வேல, புதுசா வர்ற புலவர் பாட்ட “எதுகை சொட்ட, மோனை நொட்ட, அப்புறம் தொடை குட்ட”ன்னு மட்டந் தட்டி Reject செய்றது. மன்னனும் நம்ம team பக்கா. Only professional poet can cross them அப்டீன்னு supporting them.
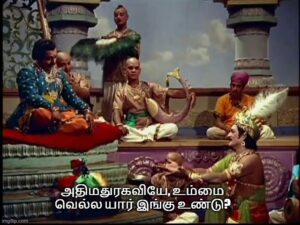 மன்னனுக்கு அதிமதுரகவி மேல் கொஞ்சம் பயபக்தி . எப்பவும் அவர தூக்கிவைச்சு கொண்டாடுவார். சபையில கூட, “அதிமதுரகவியே, உம்மை வெல்ல யார் இங்கு உண்டு?னு பெருமை பேசுவார்.
Finally everyone now at தண்டிகை அவை. அதிமதுரகவிக்கு பாட்டோட பொருள் விளங்கிடுச்சு. ஆனாலும் ஒரு doubt.
ஒருவேளை திருவிளையாடல் மாதிரி தில்லுமுல்லு வேலையா இருக்கும். யாரோ எழுதி கொடுத்த பாட்ட இங்க வந்து பாடி நம்மள எமாத்த பார்க்கிறார் இவரு!
“நாங்க உன் background check பண்ணியாச்சு. எந்த collegeலையும் உன் record இல்ல. So this poem should be someone’s else. But we’ll give you one more chance! இதே மாதிரி ஒரு பாட்டு எங்க முன்னாடி பாடு, அப்ப ஒத்துக்கிறோம்”
கவி காளமேகம்!
புலவர் அதுக்கு, இப்ப பாரு ஒரு தகரவருக்க பாட்டுன்னு:
தாதீது தோதீது தத்தை தூதோதாது
தூதிதூ தொத்தி தத் தூததே – தாதொத்த
துத்திதத் தாதேது தித்தித்தேத் தொத்தீது
தித்தித் ததோதித் திதி
மன்னருக்கு மயக்கம் மட்டுந்தான் வரல. அவையே silent mode . குசுகுசு பேசிக்கிறாங்க. காளமேகமே விளக்கங்கொடுக்கிறார்:
Maid (தாதி) மூலமாக அனுப்பும் தூது danger ! கிளியோ தூதை ஓதாது (undelivered)! தோழியின் தூதோ நாளைக் கடத்தும் (delayed). Even so பூந்தாதினைப் போன்ற தேமல்கள் என் மேல் படராது. என் காதலனின் பெயரையே நான் ஒதுவேன்! I always loves to murmur his name ❤️
அதிமதுரகவிக்கு பேச்சு மூச்சு இல்ல. சபையே pin drop silent. “போதுமா, இல்ல இன்னமும் ஏதும் வேனுமா? ” கேட்டார்.
last benchல இருந்து ஒரு புலவரு, “எங்கயோ மனப்பாடம் செய்து வந்துட்டீங்க, finalல ஒரு பாட்டு , இதே மாதிரி பாடி காட்டுங்க பார்ப்போம்“ன்னார்.
பதிலுக்கு, “இதே மாதிரி என்ன, இதே மாதிரி, இதே பாட்டையே புது மாதிரியா பாடுறேன், முடிஞ்சா follow me!”
தத்தித்தா தூதுதி தாதூதித் தத்துதி
துத்தித் துதைதி துதைத்தத்தா தூதுதி
தித்தித்த தித்தித்த தாதெது தித்தித்த
தெத்தாதோ தித்தித்த தாது?
அவ்வளவுதான், அரசபையே ஆடிருச்சு. “யாருப்பா நீ, மழை மாதிரி பாடுவேன்ன்னா பேய்மழை மாதிரி பாடித்தள்ளுர. போதும் , போதும். நீ உண்மையில் காளமேகக்கவி தான்! ஒத்துக்குறோம் ”
கூட்டத்துல ஒரு புலவரு, “அந்த கடைசி பாட்டுக்கும் நீங்களே அர்த்தமும் சொல்லீட்டா நல்லாருக்கும்”
Oye வண்டே! தத்தித் தாது ஊதுதி – தாவிச் சென்று பூவின் மகரந்தத்தை ஊதி உண்கின்றாய். மகரந்தத்தை ஊதி உண்டபின் திரும்பவும் எங்கோ போகின்றாய். Repeat.. துத்தி என்று ரீங்காரமிட்டவாறே இன்னுமொரு பூ செல்கிறாய். அதன் மகரந்தத்தையும் ஊதி உண்கின்றாய்.Tell me honestly, உனக்குத் தித்திப்பாகத் தித்திப்பாக இருந்த மகரந்தம் எது? தித்திப்பாகவிருந்த பூ எது? அழகாயிருந்த பூவிதழ் எது?
தாது - மலர். மலரின் இதழ். மகரந்தம்.
 வேறுவழியில்லை. சபை அவரின் கவிக்கு பணிந்தது!அவர் ஆசுகவியென நிரூபிக்கபட்டார்.
இப்படியாக வரதன் கவி காளமேகமாக மாறி வாழ்நாள் முழுதும் கவிபொழிந்தார்!
90’s Kids – Bonus
நாம 10ம் வகுப்புல 4 markக்கு மாங்குமாங்குனு படிச்சோமே இந்த பாட்டு, அதுவும் நம்ம தலைவர் பாட்டுத்தான்!
நஞ்சிருக்கும் தோலுரிக்கும் நாதன் முடிமேலிருக்கும்
வெஞ்சினத்துப் பற்பட்டால் மீளாது - விஞ்சுமலர்த்
தேம்பாயுஞ் சோலைத் திருமலைராயன் வரையில்
பாம்பாகும் வாழைப்பழம்
Appendix
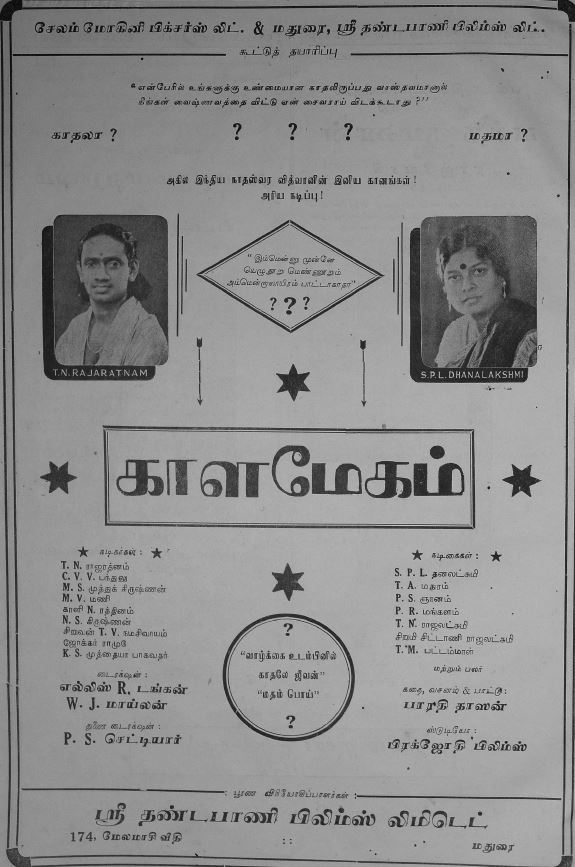
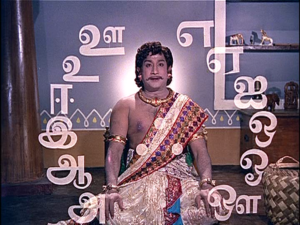
- அப்புறம் இந்த கதைய காவியம பார்க்கனும்னா, try the vintage movie காளமேகம் from 1940! 28 பாட்டு இருக்கு… அப்பப்ப dialogueக்கும் வரும்.